MySQL WorkBranch 실행

계정생성 및 권한부여
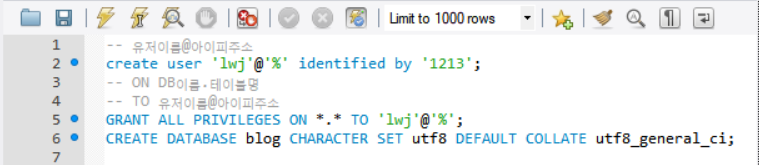
-- 유저이름@아이피주소
create user 'lwj'@'%' identified by '1213';
-- ON DB이름.테이블명
-- TO 유저이름@아이피주소
GRANT ALL PRIVILEGES ON *.* TO 'lwj'@'%';
CREATE DATABASE blog CHARACTER SET utf8 DEFAULT COLLATE utf8_general_ci;
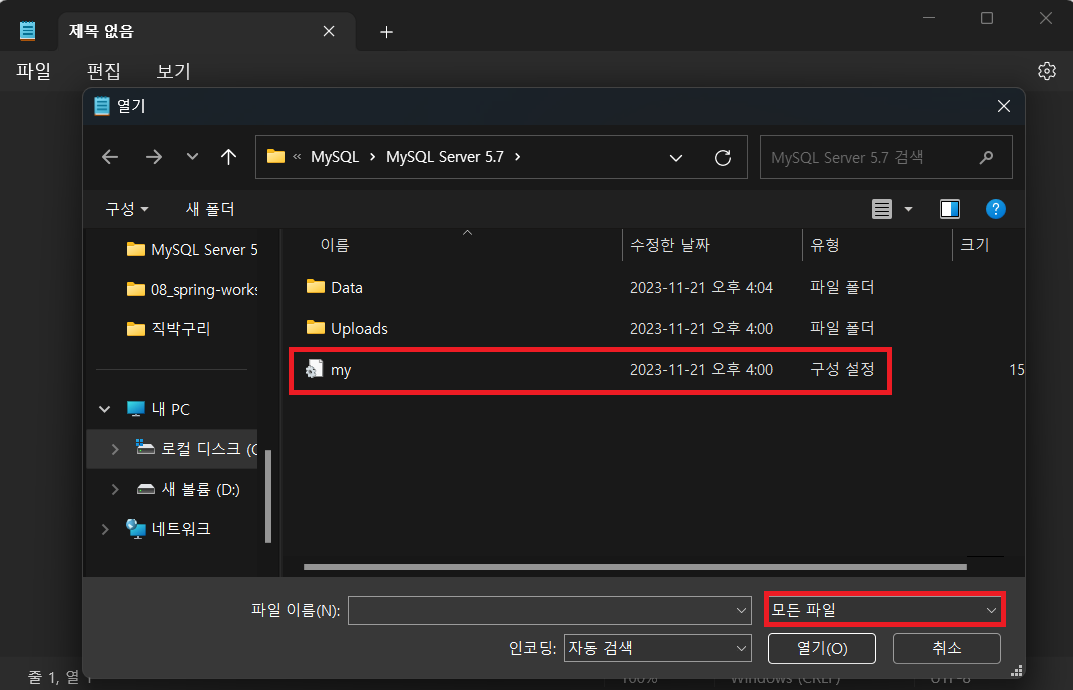
MySQL 한글 설정

[client]
default-character-set=utf8
[mysql]
default-character-set=utf8
[mysqld]
collation-server = utf8_unicode_ci
init-connect='SET NAMES utf8'
init_connect='SET collation_connection = utf8_general_ci'
character-set-server=utf8
MySQL 다시시작
장치관리자 -> 서비스 -> MySQL57 우클릭 -> 다시 시작

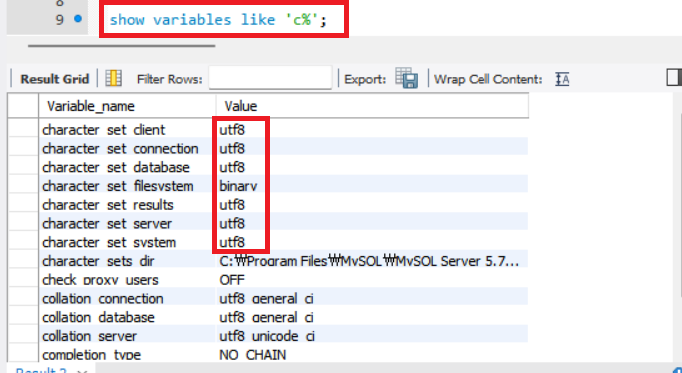
연동확인
프로젝트의 pom.xml에 가서 mysql과 JPA 의 주석을 풀어준다.
<dependency>
    <groupId>org.springframework.boot</groupId>
    <artifactId>spring-boot-starter-data-jpa</artifactId>
</dependency>
<dependency>
    <groupId>com.mysql</groupId>
    <artifactId>mysql-connector-j</artifactId>
    <scope>runtime</scope>
</dependency>
프로젝트의 src/main/resources의 경로에 있는 application.properties 의 확장자를 바꿔준다
properties -> yml
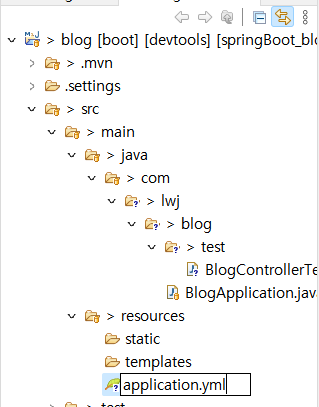

spring:
  datasource:
    driver-class-name: com.mysql.cj.jdbc.Driver
    url: jdbc:mysql://localhost:3306/blog?serverTimezone=Asia/Seoul
    username: lwj
    password: 1213
server:
  port: 8001
다시 springboot app 으로 실행
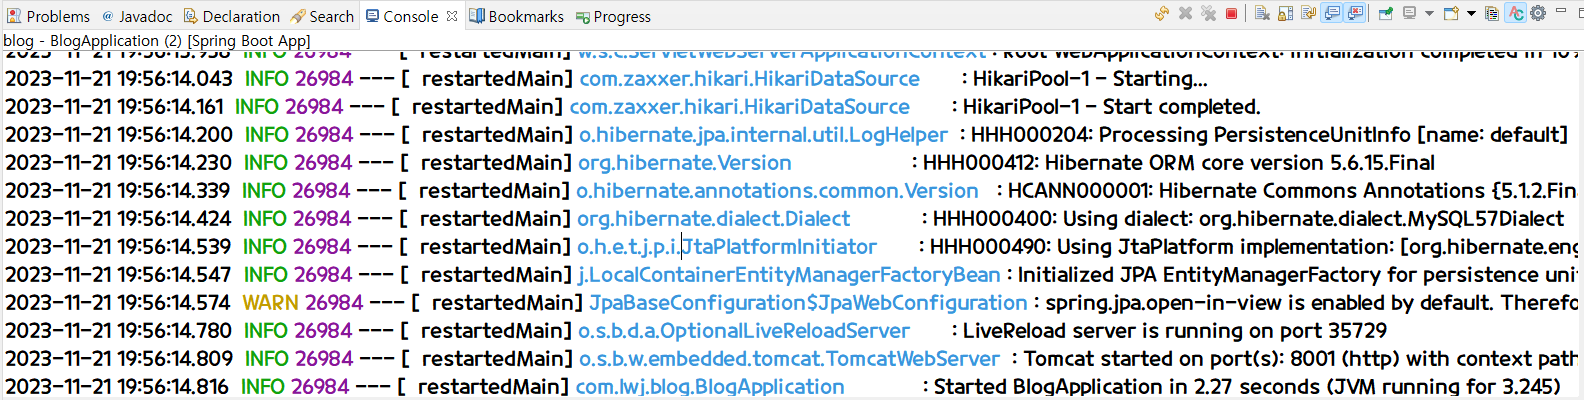
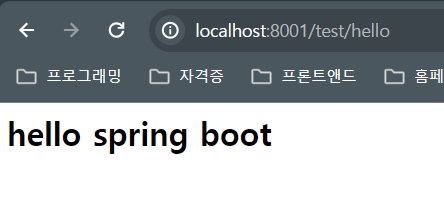
성공~~!!
크롬에서도 확인해보자
http://localhost:8001/http/lombok